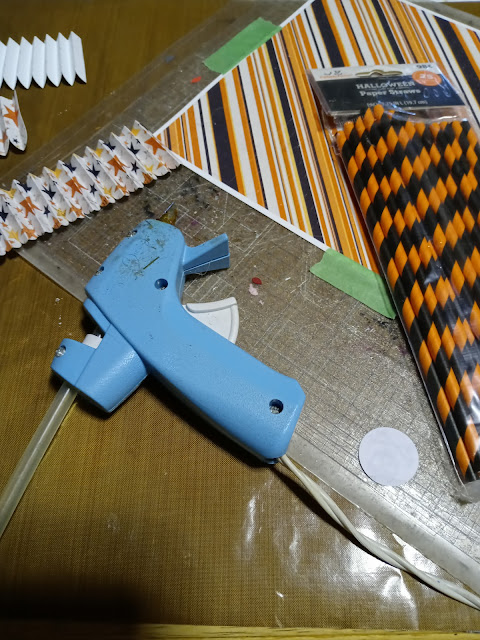
While going through my stash I found a package of sturdy Halloween straws that I don't remember purchasing. Luckily, I quickly recalled a cute little decor idea for "Halloween Lollies" that I had seen somewhere on the internet. Determined not to buy anymore supplies until I use most of what I already have, the project was perfect. And this project is a good one for beginners because all that you have to do is cut, fold and glue.
Supplies needed are:
hot glue
glue gun
Printed paper
Paper straws
Craft Mat
I printed my paper from files I purchased from Simple Stories. The Halloween prints were in black and orange and went well with the stripes on the straws. I used Epson matte presentation paper that has a hefty weight and makes the print vivid. I'm not sure that they still make it
Start by grabbing your supplies.
Make a simple rosette. If you've never made a rosette before, you can find basic instructions here:
Simple Rosette. I cut my paper 1.5 inches wide so that it would make a 3" rosette. I thought that size looked well balanced with the thin straws.
After attaching both ends together, I simple push down on the rosette to form a circle. I pile a little glue on my craft mat and than scrunch the circle up around the glue, making sure that it is centered and adhered to all of the center.
Lift the rosette carefully off of the mat.
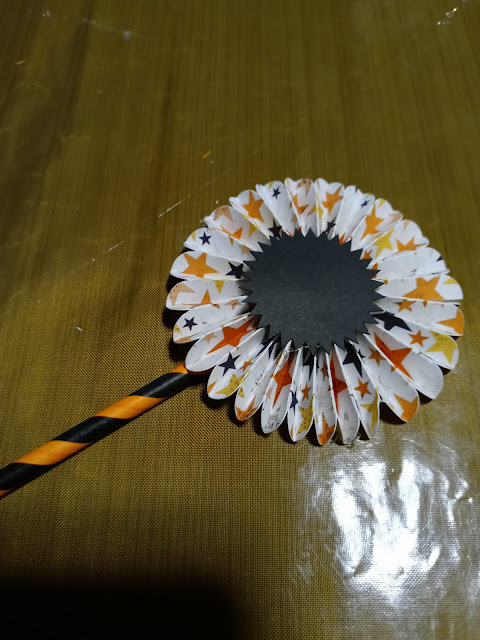
Once I have the rosette nice and secured and the glue has cooled, I flatten one end of the straw.
I glue that end to the back of the rosette. I than cover the front and back with a paper circle that complements the colors.
I selected black because for Halloween it's a color that you can't go wrong with.
I printed out some vintage graphics I found on line and cut them in a circle. I glued them in the middle of the medallion to add more interest.
I tied some orange ribbon on that I had in my stash for a little more pizazz.

-
And wha-lah, cute little lollies you can arrange into a display, or add to a gift wrapping for a special
little Halloween treat.


No comments:
Post a Comment