Showing posts with label Christmas. Show all posts

Tuesday, November 22, 2022

It's Time to Pull Out the Glitter and Tinsel

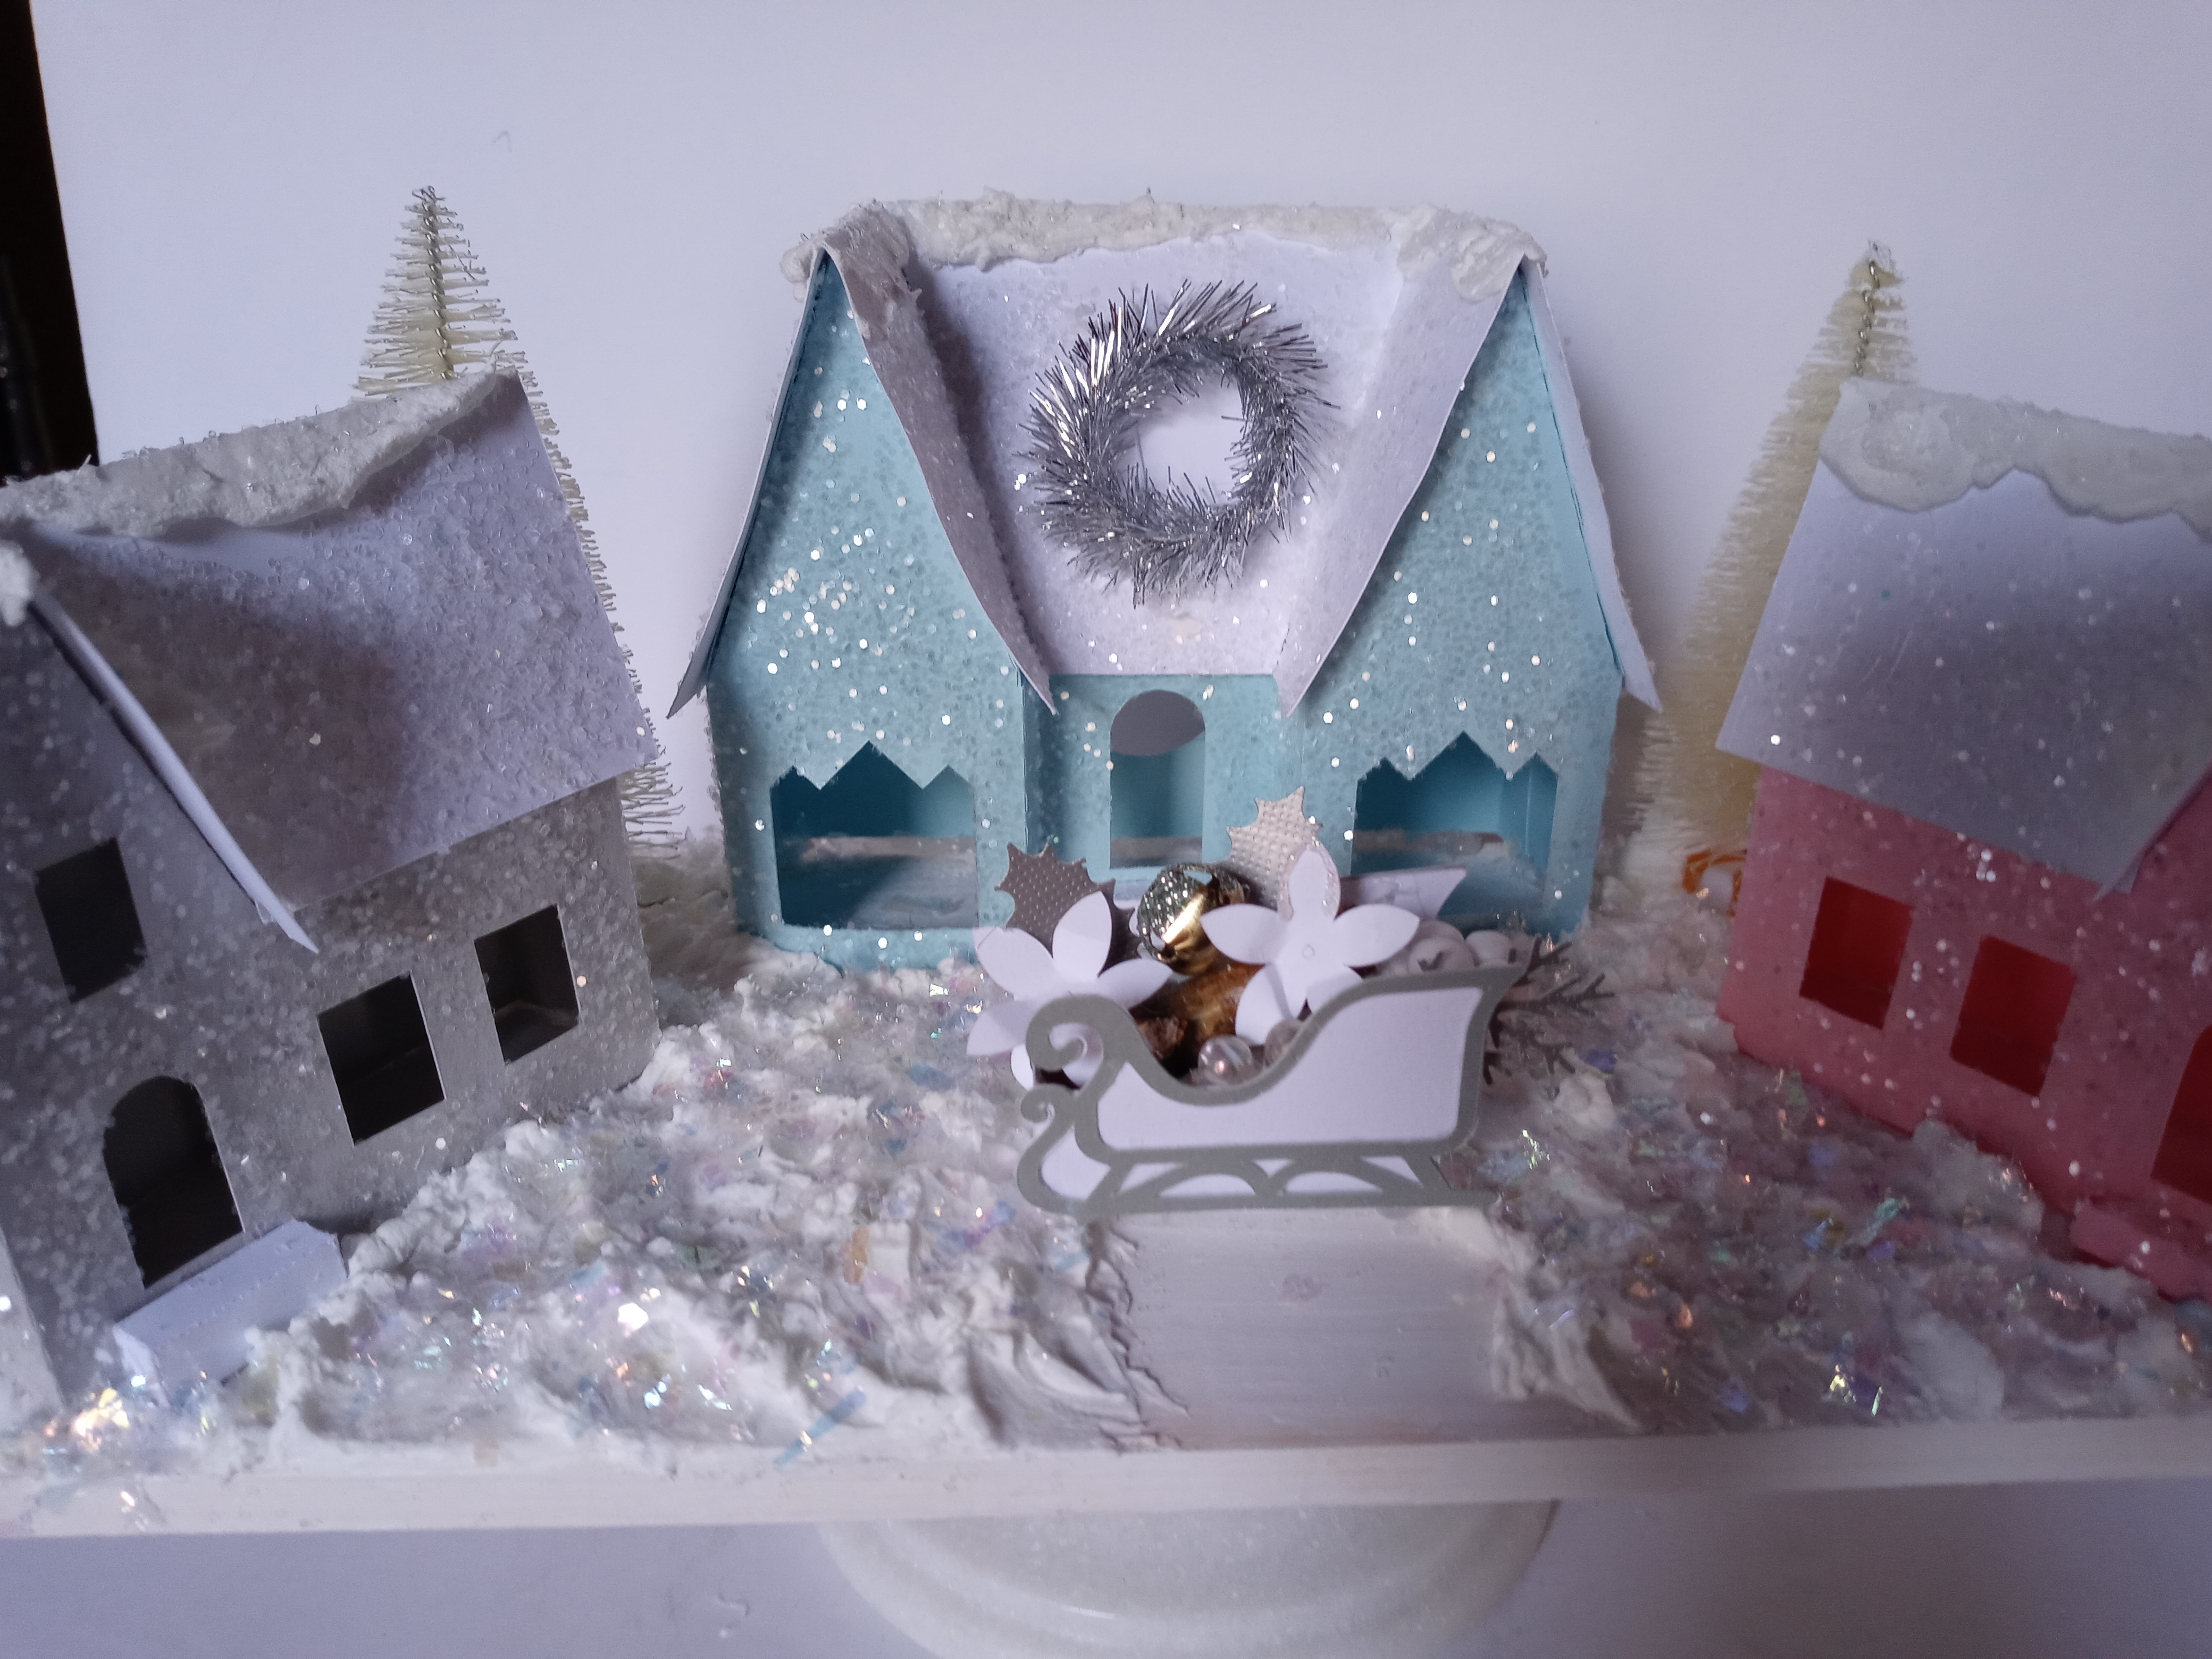
 Now that Halloween has come and gone and Thanksgiving is in a few days, it's time to do my Christmas crafting.  Christmas if you haven't already heard me say before is my most favorite holiday to craft for. In the past I have made cards, tags, gifts and ornaments.  An in the most recent years I have made my little paper houses.

Because I caught COVID at a September wedding, my crafting plans fell way behind.  Given the shorter schedule, I decided to focus on some houses and ornaments.  I might attempt a few cards if I get the extra time.

Here are some of the crafts I've managed to make thus far:


Monday, November 8, 2021

Christmas Crafts

 Though I'm not what you would call an artist,  I manage to get joy from exercising my creative juices, though limited that they are.  And there's no better time that I like to craft than for Halloween and Christmas.  Especially Christmas because I get to use glitter without limit. And I LOVE glitter.

I've been confined to being home this week not because of the cool weather but because my grand daughter's class was quarantined and my daughter was limited as to how many days she could take off.

So, I took the time to start my Christmas crafting.  For the supplies I used most of what I had on hand.  Though I love all of the new die cuts by Mr. Holtz as well as other vendors, I just don't  have that kind of cash to spend.  So, with the exception of a few pieces I bought at the dollar store, all the paper, glitter and glue I already had on hand.

Most pieces incorporated wooden bases that I painted white to invoke the feeling of winter and to give the paper pieces some sturdiness.  All the cut files used are from Silhouette designers and some I tweaked a little.


u

Tuesday, November 20, 2018

More Winter Churches

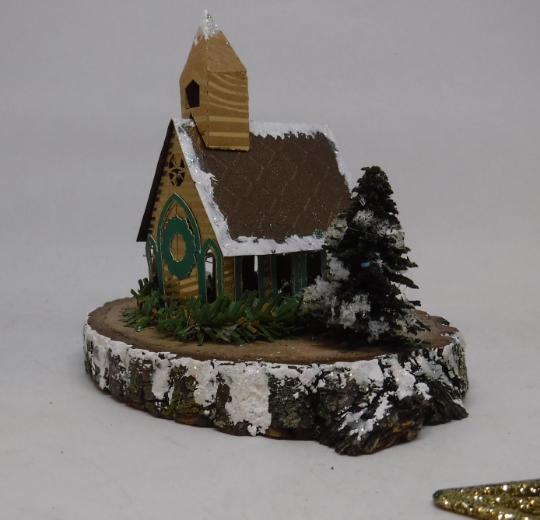
Like I mentioned in my last post, I have these wood slices from tree branches that I have to find a use for.  After looking through my crafting stash, I came across a few glittered churches from the Dollar Tree that I picked up last year.  All I had to do to create a wintery scene was to apply a little hot glue to the bottom of the church, add a few bottle brush trees and sprinkle the piece with a little artificial snow.

I liked it so much, I decided to make two.

I'm sure you'll agree that they came out looking adorable.  The perfect little piece to place under a glass cloche.


Wednesday, November 7, 2018

 IT'S BEGINNING TO LOOK A LOT LIKE CHRISTMAS!


Recently, the organization I volunteer with commissioned the Rebuilding Exchange to slice tree branches collected from the City's tree trimming operations into disks.  The intention was to use the disks as pendants for children to stamp animal prints on as part of a park event.  Well, the event got canceled due to stormy weather and we were left with a number of disks.

One of the other volunteers who was familiar with my crafting suggested that I might want to incorporate some of the disks into a project.  It's then that I realized the disks would make the perfect foundation for the little paper Christmas churches I had planned to make as decor.


I painted the tops with a clear matte varnish, added dabs of snowy white paint here and there, dusted on some sparkly glass glitter added a few bottle brush trees and wah-lah.  A darling, rustic, wintery Christmas church. 

This little church scenes will look adorable sitting on a  stack of old books, a tabletop, pedestal or shelf.   The best part, they're not so Christmassy that they can't be used
throughout the winter season. 

Tuesday, January 8, 2013

Waterless Snow Globe


I just had to post this idea for all those clear glass balls that are sold at Christmas time. This project uses a 3.5" glass ball and an empty cat food can to create a simulated Snow Globe. Here's how I did:

Step 1: using my Wishblade, I cut a church silhouette out of white card stock using a file I purchased from Kerri Bradford's site here.

Step 2: Glue silhouette to used transparency film cut to fit inside of ball.

Step 3: Remove top of ornament, roll film into a tube shape and slip into ball. Use tweezers to position film in place.

Step 4: Add artificial snow.

Step 5: Cover top of ball with small piece of tin foil to prevent snow from leaking out. Replace cap minus the hanger.

Step 6: Cover cat food can with scraps of old gift wrap cut to the width of can. Trim edges of can with ribbon or metallic trim.

Step 7: Invert ball with cap side down and place inside of can. Add a touch of hot clue to the edges if desired to keep ball in place.