Showing posts with label Putz house. Show all posts

Thursday, August 7, 2025

Paper Halloween Houses

I don't know what it is, but I really like making these little paper Halloween Houses.   I guess I have always been attracted to little miniatures, dollhouses, train displays etc.  There's something magical about imaginary scenarios.  

When I discovered years ago that I could cut out simple patterns for little houses similar to traditional Putz houses with my Wishblade, I was hooked.  

Here's a step by step process for the assembling of a fairly simple one.


After selecting the papers I want to use, I cut out the basic shape.  This design is a Silhouette file that can be found on the Silhouette Design Store website.


 I make sure to glue any embellishments such as window frames, decorations on before glueing the house together while it is still flat.  I glued on the tiny orange boards before I glued the sides of the house together.  It's much easier this way. Trust me, I know from experience.
What's a haunted house without boarded up windows?


Another step I like to do before I glue the sides is to crease all the creases so that I'm not trying to do so on an almost completely glued house.  It also helps to see edges and bends on the black paper a lot better.


Here's the roof piece.  I've creased the score lines to help making the attachment a lot easier.


For this design, I wanted to break up the color by adding another touch of orange.  So, I picked out this cute orange and black star print that looked very Halloweeny to me.  I  glued the printed layer to the solid-colored roof so that it adds another layer of strength to the house.

Here are the two roofs layered together.


Now for the really challenging part.  Adding the roof to the structure, making sure its even and centered before the quick-drying glue dries!  My preference for quick drying glue is Art Glitter Glue.  It dries fast and can be used with a narrow applicator tip,  But, I have to work fast.


Here's the completed house.


Now to paint the Styrofoam base. I try to use biodegradable materials whenever possible, but these little disks are sturdy, lightweight and just the right size of a base for my little 4"-5" houses.  I tell folks that when they are ready to trash their houses, make sure to recycle the parts that are recyclable and trash the base.


Now for the fun part - decorating the house.  I first added some grey colored spackle for the look of a textured path/walkway.


Then I added touches of white ink highlights to the house itself with a sponge.

:
Now for all of the "natural" embellishments: twigs, stones, seeds etc.


I always make sure to add enough glue to the twig-trees so that they stay firmly in place.


Trees in place.


After glueing my seed-pod-pumpkins in place, I added a splash of purple with a little natural moss.


And here's the final project as pictured on my Etsy site:


I hope you enjoyed this little demo of my house making process.  It looks like it's just one-two-three, but it takes more time than you think.  I have to pick he papers, cut the pieces glue and let the pieces dry, paint the base, let it dry. add any spackling I might add and let it dry then glue all the rest of it together.  


Tuesday, November 22, 2022

It's Time to Pull Out the Glitter and Tinsel

 Now that Halloween has come and gone and Thanksgiving is in a few days, it's time to do my Christmas crafting.  Christmas if you haven't already heard me say before is my most favorite holiday to craft for. In the past I have made cards, tags, gifts and ornaments.  An in the most recent years I have made my little paper houses.

Because I caught COVID at a September wedding, my crafting plans fell way behind.  Given the shorter schedule, I decided to focus on some houses and ornaments.  I might attempt a few cards if I get the extra time.

Here are some of the crafts I've managed to make thus far:


Wednesday, March 30, 2022

Halloween Putz Houses

 Now that I'm pretty much done with Easter crafting I'm  on to Halloween.  I had planned to get a real headstart on it this year.  My focus will be paper and Putz houses.  I really enjoy making them and folks enjoy seeing them.  I'm still working to perfect the process.  My less than agile hands have a hard time working with the small pieces and lord knows I still haven't mastered being neat with a glue gun.

The little styrofoam rounds from the floral section in DT make the best little bases.  I simply paint the edges and glue on paper to the top.  No having to cut anything and they are very sturdy.  

My first house is a traditional Putz house shape by  Samatha Walker I simply made it Halloweenie by choosing black and orange papers.  I modified the front window to display a vintage gypsie and added vellum to the other windows to defuse any added lights.  


My next house was also a traditional Putz cottage that I enlarged a bit.  This time I omitted the sparkle and went for just the Halloween co.ors of purple and black.  I added grungy moss, a few little pumpkins and a twiggy tree.


My most challenging one was made from a free file I got from A Cottage in the Forest.  It had many more pieces and was a bit more complicated.  I made it larger and used a wooden base for more support.  I plan to make more hoping to get better with the practice.


Thursday, February 17, 2022

Easter Houses in Spring Colors

 Selecting colors for my projects is never easy for me.  I don't have that "eye" for which colors go with which.  So it's always a hit or miss and I have to hope for a "hit".

I decided to go with soft spring colors instead of vibrant ones.  Instead of bright pink and purple, I choose muted pink and lavendar.  And I can only hope the rest work together.

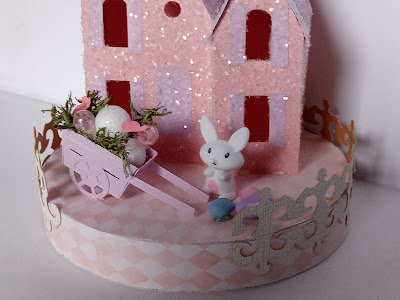
Little is always more attractive to me, so I made these 4" tall,  small enough to easily fit on a Dollar Tree Foam disk.  I cover the disk in a complementary paper and trim the disk with a paper fence.  I made a little paper push cart and filled it with baubles and paper flowers,  and  finished with a few clay Easter eggs.

Pictured below are the houses I've completed.


Monday, March 9, 2020

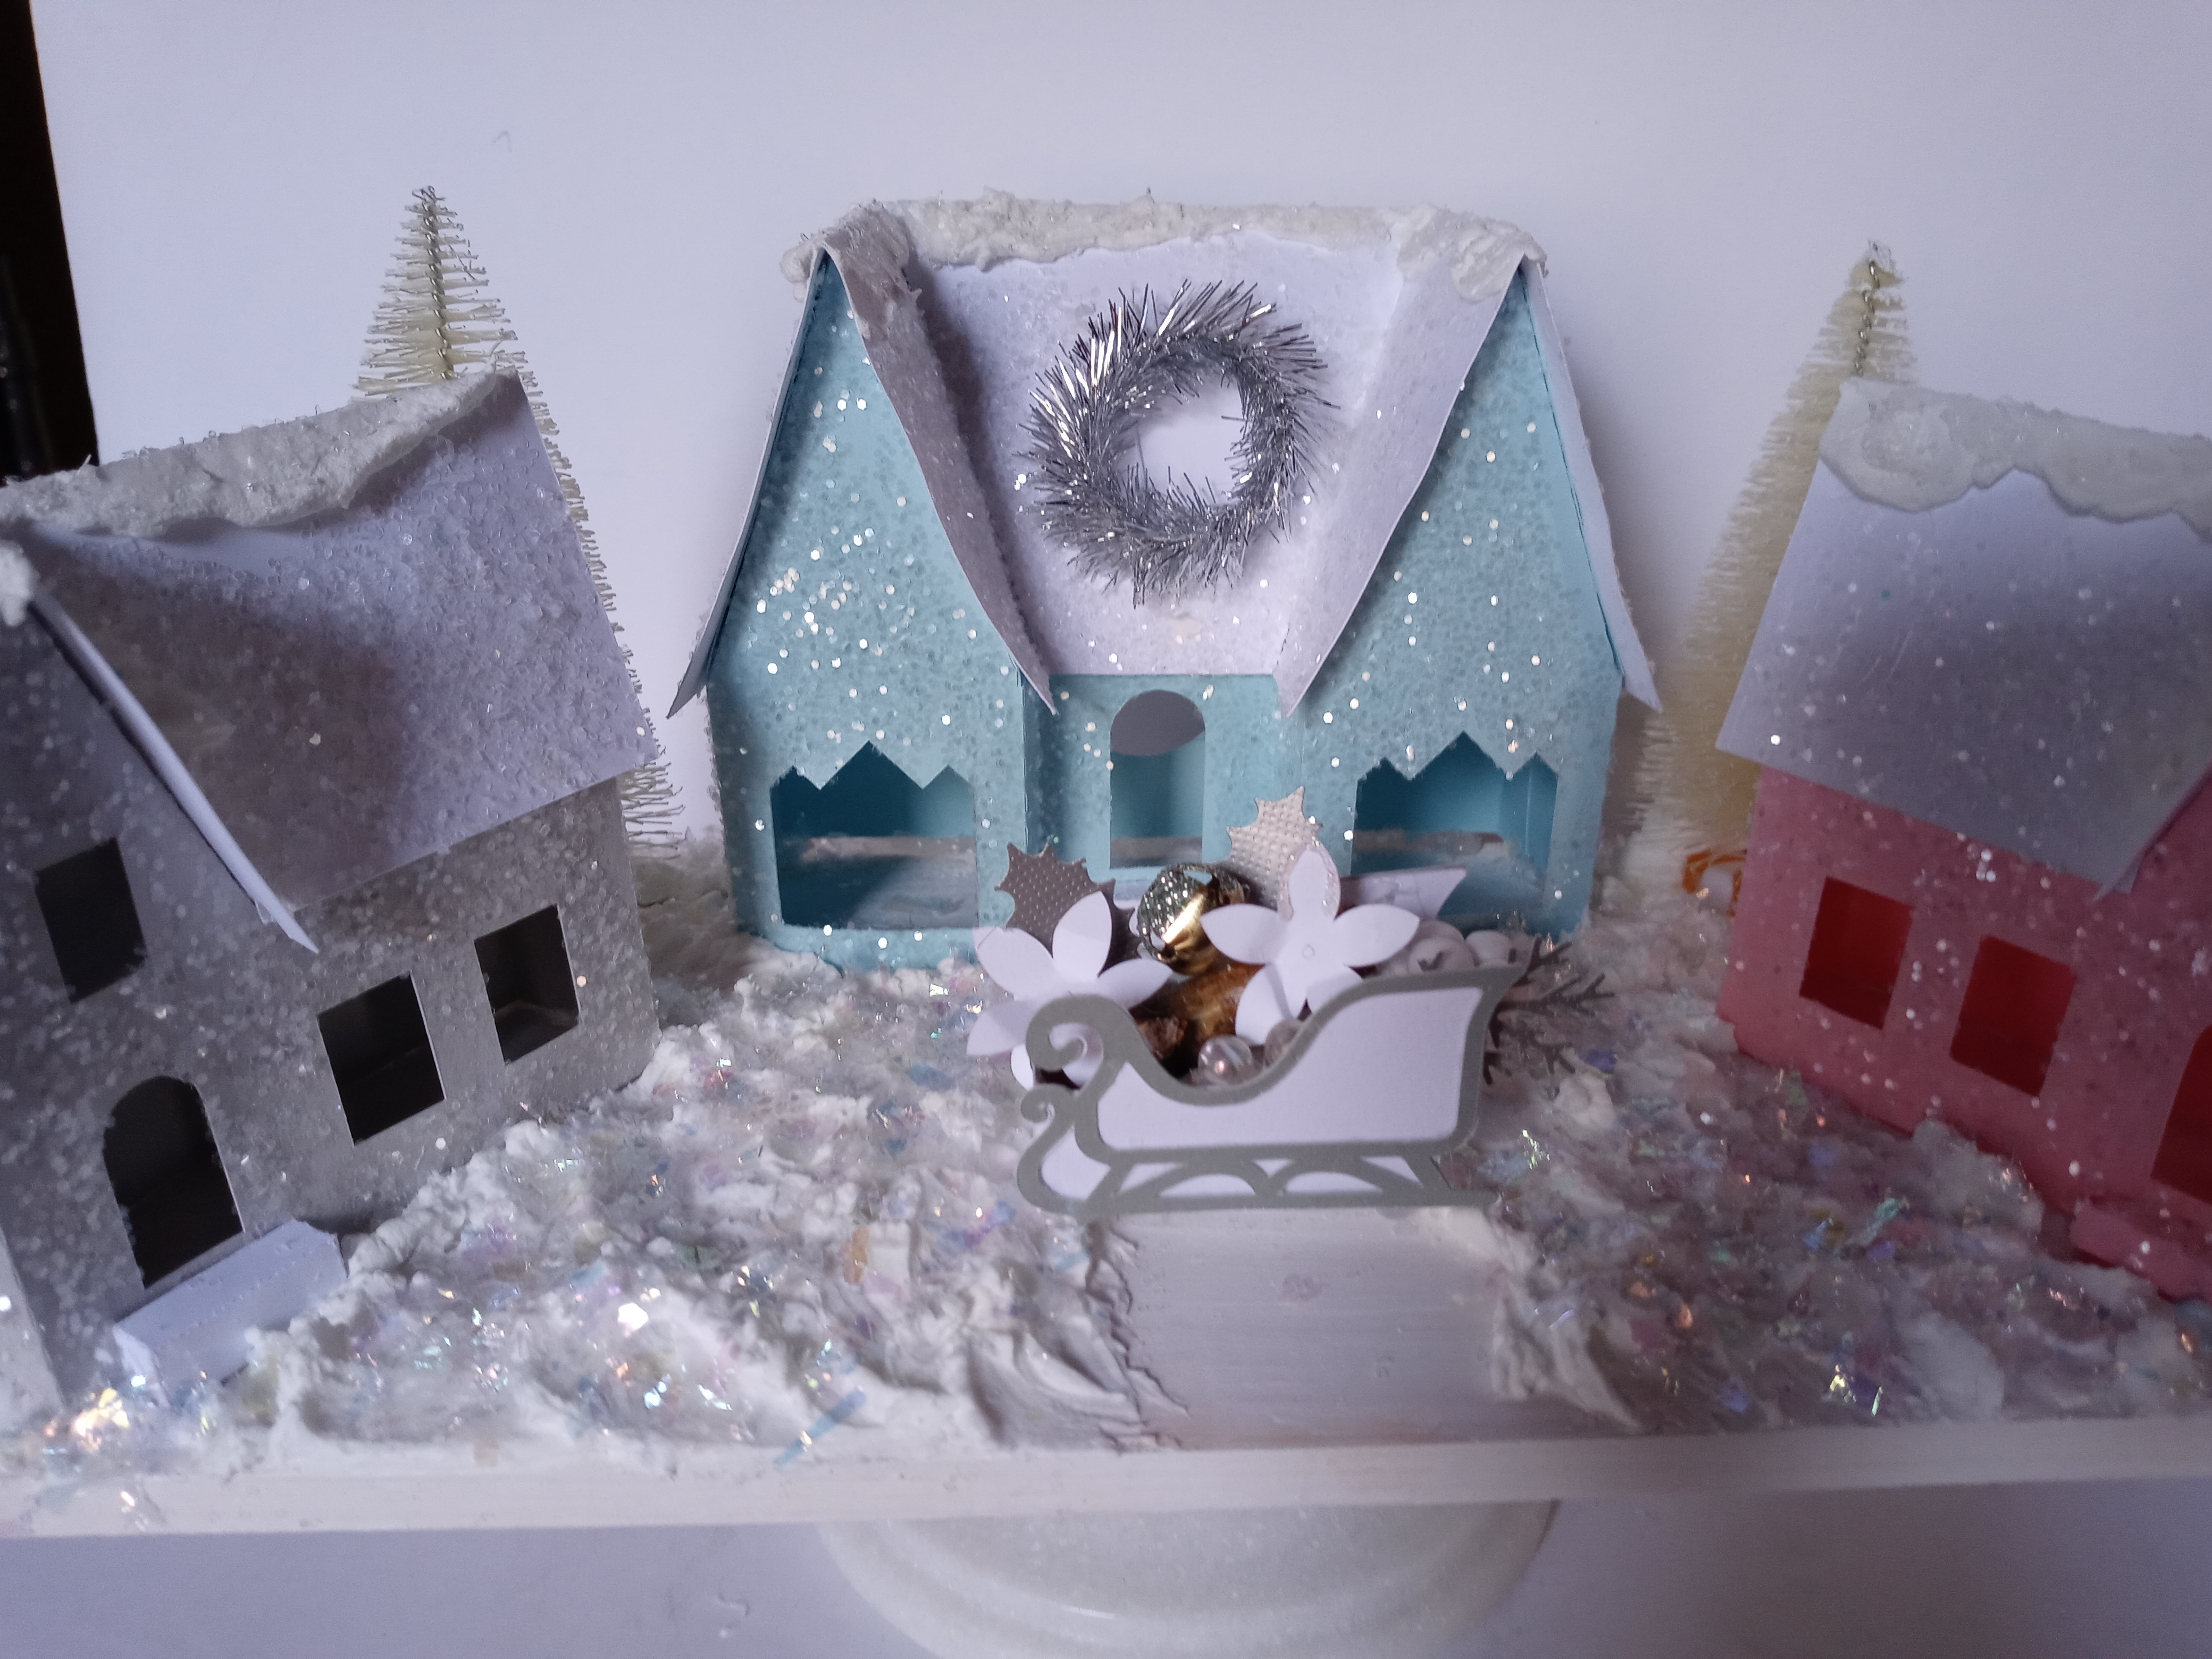
Frosty Paper Houses


Here in Chicago, the temperature for the past few days has been in the upper 40s to lower 50s.  Seems we've had a very mild winter with little snow though our lake is at its highest level in decades.  Our beaches have pretty much eroded away.

This past weekend I thought I would try to capture the last of winter with some cute paper winter houses.  For once I got a jump on my Christmas crafting and started really early.

Don't know if you remembered that I have quite a few tree cookies or branch slices as some people call them  that were trimmed as part of our Park Districts standard maintenance.  They are taking up quite a bit of space and if only knew how little space I have, you'd understand why I need to use them up pretty quickly.

My house is a standard "working man's cottage" that was built in1889.  In terms of size, let me just say that I am trendy and part of the tiny house movement without any effort on my part.

Getting back to the cookies and paper houses, I cut a simple house from white cardstock added color with the roof, window trims, and door.  I  embellished with a snow-covered pine tree and a few other wintery items.  I  glued the items to a snow-covered cookie and dusted the scene with glitter for a
little more sparkle.

I have a few more cookies so will be making more houses.